Showing posts with label Home Is Where the Art Is. Show all posts

Thursday, August 23, 2007

They Try to Make Me Go to Rehab, I Say No, No, No....

Thrifted Tuesday!
Again, on a Thursday......
Turns out, I've got a Partner In Crime.....
Evil Thrifters... taking over the world in second hand shoes and refashioned frocks....he he he


Anyways, onto the goods...


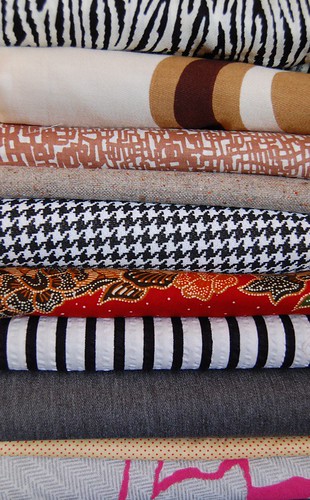
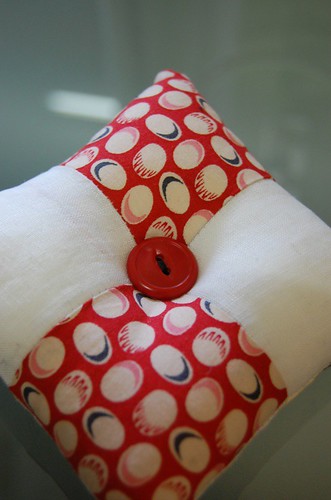
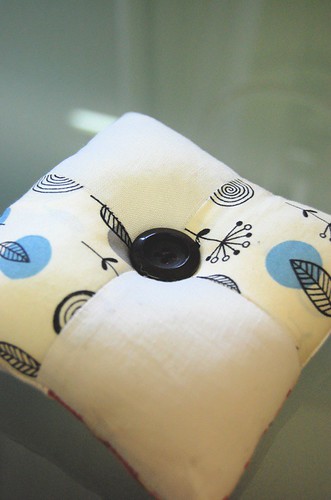
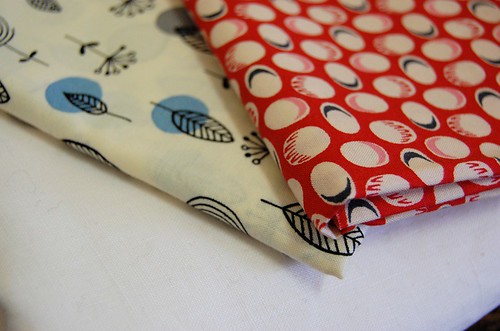
For the price of half a metre of quilting fabric from my local quilting shop - this whole pile of brilliant cottons:


Thrifted Fabric Stash


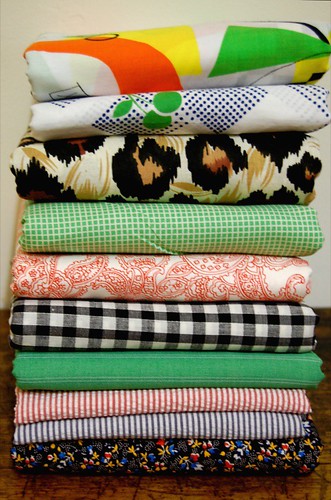
I'm especially fond of the blue and white spot with the green cherries......oh and That Leopard Print - I'm a sucker for animal prints, I love their trashy, nouveau-riche socialite value....brilliant..


Second up is a simple polka-dot t-shirt for work, paired with some plastic/fantastic yellow beads:


Thrifted yellow beads + polka t-shirt


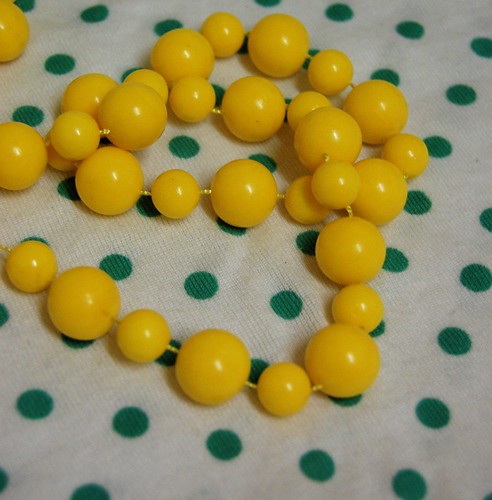
I swear, I'm going through a Second TennagerHood...... I've been a Melbourne Influenced Black is the new Black wearer for years (augmented by my large stage as a Punk), and now suddenly, it's all about colour, and plastic stuff, and bright shoes, and skinny jeans.......lord, what's happening to me?????


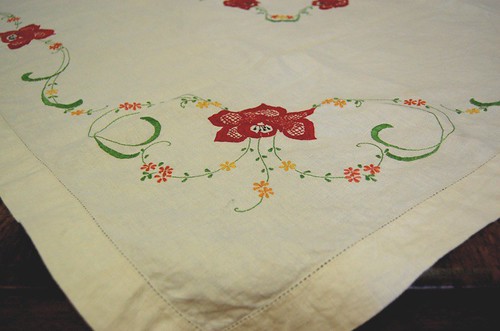
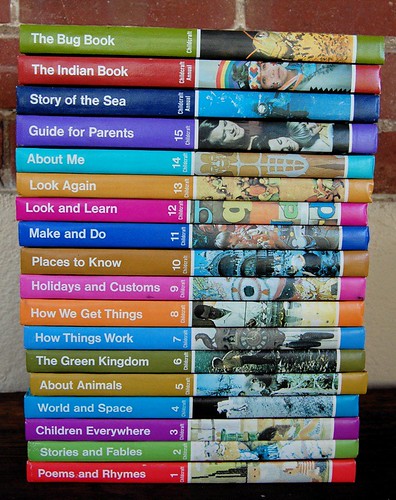
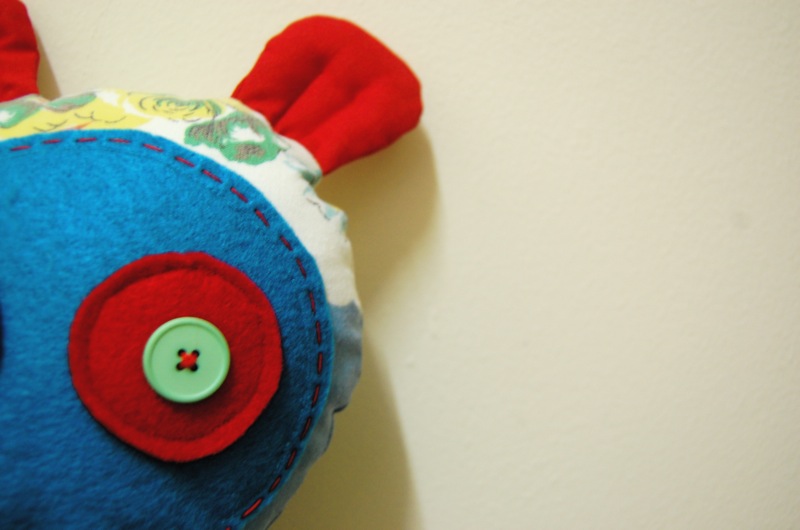
Anyway, harkening back to my roots now, my little heart leapt when I saw this, for $1:


Thrifted cookbook from my childhood


Think of the Ginger Fluff Sponge, people!
I learnt how to cook out of books like these - simple, economical food for country people, stodgy and weird - things like trifle and christmas cakes full of booze, pavlova and sponges, bread and butter pudding, the works.
Being vegetarian, the meat section is truly terrifying, but I love it nonetheless.....


And there you have it... the thrift haul o' the week.


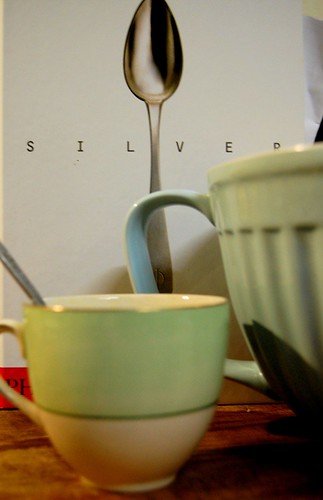
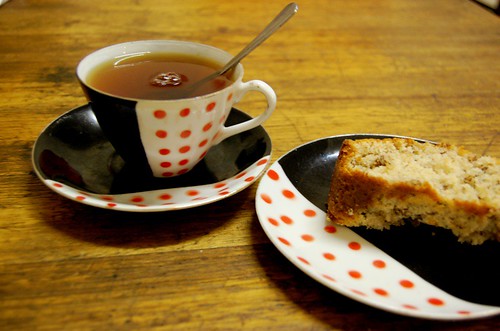
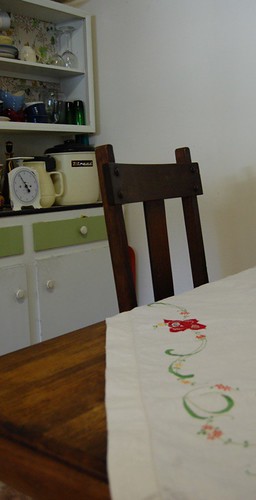
In other news, I've been rearranging the kitchen, making way for my new purchase:


New Ikea purchase + My Kitchen


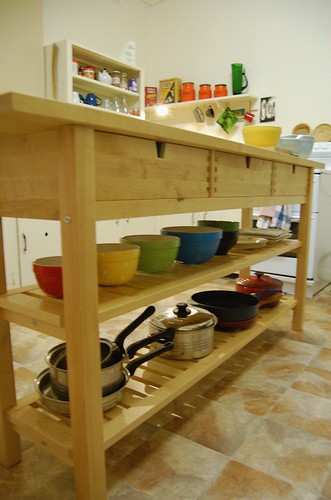
Which neccesitated a complete rearragement of the Teacup Collection:


Rearranging the Teacup Collection


Taking photos of which was just an excuse to share a snippet of the vintage crockery collection!


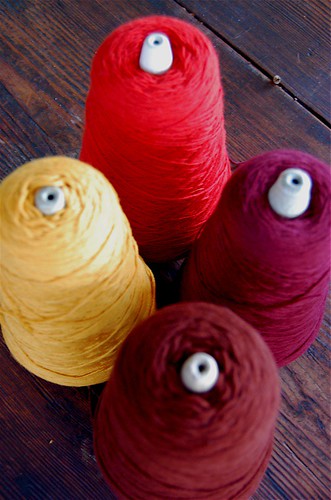
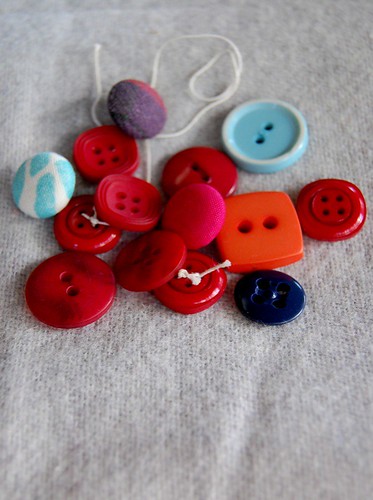
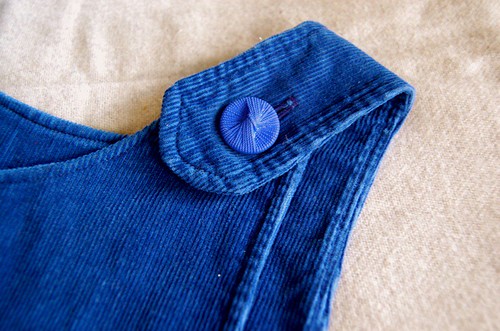
I've also branched out in the knitting stakes, and puchased a new pattern from Six and a Half Stitches, a gorgeous flap front babies' cardigan with fabric details - a true favourite amongst readers of Alison's Blog. I'm going out on a limb here, knitting with a pattern and all, so expect lots of call-outs for advice! Hopefully I'll manage to get a passable version knitted for the new addition to the family, via my sister, who is due sometime in October......


Phew! A big post after a little break!


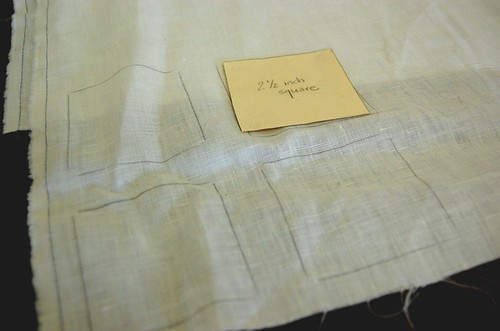
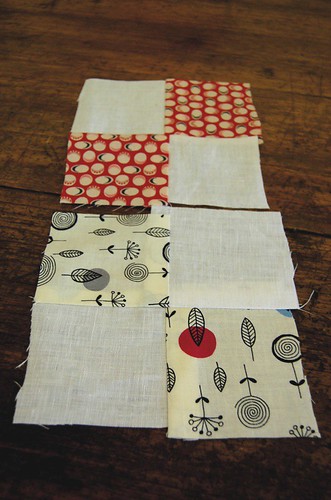
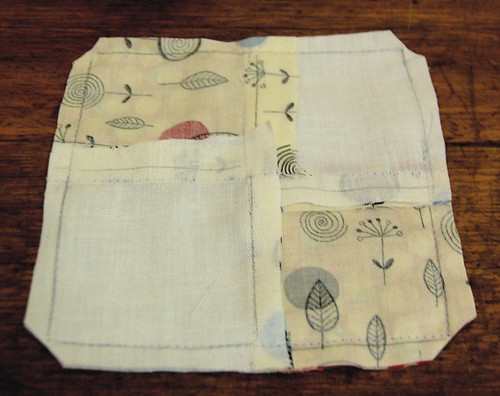
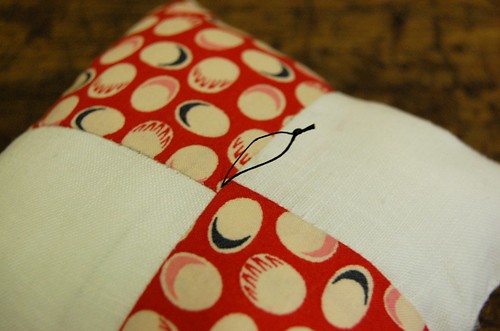
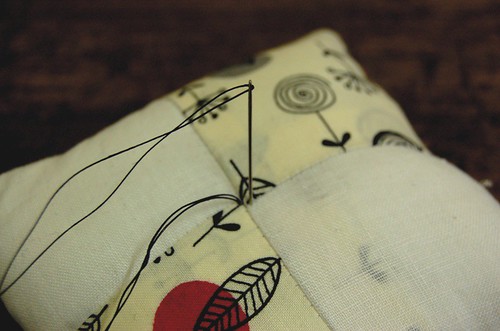
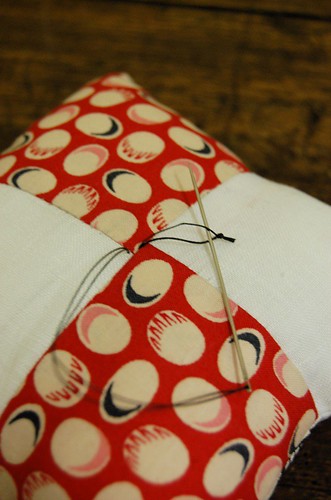
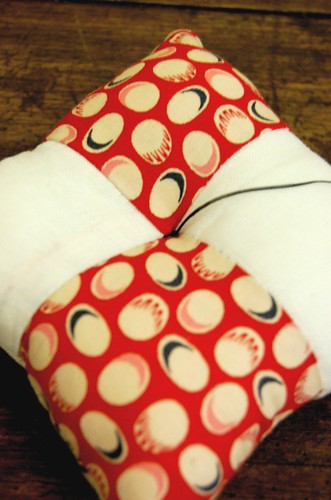
The blog moving plans are still going ahead, and I'm expecting to move very soon, plus the quilt tutorial is on it's way, but I'm going to save it for the new location.......plenty of plans in the works...


Cheers m'dears - Leah xx


Oh, and the lyric in the title? Amy Winehouse. I cannot get her songs out of my head.....

Friday, August 17, 2007

Retail Therapy....


Yep. That's right. I bought a new washing machine. (actually, I interest-freed it, which isn't really the same thing, but whatthehell...)


It's an LG washer/dryer combo, which to me sounds rather terrifying, but they insist it works, so I'll have to trust the whitegoods gods on that.


After endless trips to the laundromat, and/or trying to tempt the old washing machine to take on more than a pair of socks without throwing a tantrum, I finally reneged, and just went and got a new one.


And, as I am defiantly still clinging onto my Twenties, I refuse to get too excited over the prospect of Properly Clean Clothes, steam and refresh cycles, and fluffy towels. Surely it is the absolute right of the 28 year old woman to bite her thumb at whitegoods and buy a handbag or some shoes or an ipod instead.


Alas, I have been saying for a long time that I am an eighty-something year old woman trapped in a twenty-something's body.


The truth always comes out in the wash, or so they say.


In other news, my Best Friend In The Whole World gets married on Saturday, and I'm not going to be there, so Katie, my love, have a fabulous day.


It's been raining, so no quilt tutorial yet.....but soon...!
xxx

Saturday, August 11, 2007

Absence makes the quilt grow faster....

While the Man and the Digital camera were away... I finally got started on a project I've been dying to try for ages.....


I've been turning this:


white cotton - pre quilt


and this:


quilt fabric pile


into this:


cathedral window quilt


Yep. That's right.... it's a Cathedral Window quilt, fiddly and scary, but surprisingly easy once you get started!


cathedral window quilt


I've been meaning to tackle a White Project for a while now.... there are some truly beautiful, sparse and gorgeous quilt projects out there, and though this one isn't quite as avant-garde as I'd like, it's a good start. It's amazing how quickly it grows, and because it's a quilt as you go project, there's no scary batting or backing to deal with after you've finished the fun bits.


cathedral window quilt


I made a block of these when I was at school, so I remembered the basic process, but I've made a few changes to the way I've been making this one, so I think I'll post a tutorial on how to make it next time I prepare a batch of squares. It's a completely satisfying project, even if you are a crappy handstitcher like me - take a step back, and the stitches don't matter a damn.....it the sheer brilliance of the design, the origami like folding of fabric, the stitched down "windows" that catch the eye.....


Anyway - I'm loving it..... tutorial to come soon, I promise! xxx

****UPDATED TO ADD: You can find the tutorial for this quilt on my new blog here:

Cathedral Window Quilt Tutorial....... Enjoy! xxx ****

Thursday, July 26, 2007

Thrifted Tuesday....

Yep, on a Thursday, again. Seems that bloggers are quite flippant with the days of the week...


Todays finds?


Four spools of lace weight yarn, in gorgeous warm tones...$1.75 each:


Thrifted Yarn


Not sure what I'll knit from them, but I'm keen to see how the light weight yarn works on the needles....


A little pile of mismatched buttons + a good length of nice and soft light grey wooly flannel that I think will end up as a serious, tweedy-looking Nong....


Thrifted Buttons


Yet another present for my neice, who is getting packages-a-rama in the mail from me lately.....this is just a sneak peek for my sister, before I send it!


gift for my neice


Plus, The Best Teacup In The Whole World:


Thrifted Teacup


It's not in the best condition, which is a damn shame, *but* it's red white and black (my all time favourite colours), comes as a trio, AND it has polka dots. What more could you want?


After trawling around op shops for the afternoon, I had an insatiable craving for cake.....so, for once, I actually made one myself....


Baking!


Despite my love for vintage crockery, I'm not really a kitchen kind of person. I ADORE good food, and love to eat it, but I'm not a very good cook and I don't often spend time in the kitchen. I blame it on my lifestyle: working nights doesn't really lend itself to the whole cooking, sharing and eating thing, it's more of a grab and run affair. Pity.


So it was nice to make a cake for once; this one from a tried and true recipe of my Mum's - a basic teacake that doesn't call for masses of ingredients, and you can throw whatever you have in the cupboard into it, in this case, walnuts and nutmeg:


Walnut + Nutmeg Tea Cake


This be the recipe:


Basic Tea Cake


ingredients:

60g butter, softened,
1 tsp vanilla essence,
2/3 cup caster or fine white sugar (you can actually use any sugar you want)
1 egg
1 cup self raising flour
1/2 cup milk.


cream the butter and sugar, and add egg, a little at a time, beating in as you go. Gradually stir in the flour and the milk, alternating between them, and beat until fluffy.
grease your cake tin, throw in the mixture, and bake for 30 mins in a moderate oven.

That's the basics, I usually add some cinnamon, top the cake with apple slices and raw sugar, or put half the mixture in the tin, top with custard, then the rest of the mixture, so the custard bakes in the middle....mmmmmmm


Tea and Cake. What could be better?


Cup of the Day


xxxx

Wednesday, July 11, 2007

Thrifted Tuesday..

Finally, I got back to a spot of op shopping this week! I've been taking a break from thrifting in order to hibernate the finances a bit, but yesterday the withdrawals got too much to bear......


So, on to the finds......


A whole pile of fabric, a bit of a mongrel bunch this time, but all individually quite good for what I plan to use them for....


thrifted fabrics


But the fabric find of the year was this AMAZING vintage linen tablecloth, hand embroidered, and ABSOLUTELY GORGEOUS, for six dollars.....


thrifted tablecloth


How on earth anyone could ever have the patience to embroider so well is absolutely beyond me!


thrifted tablecloth


And just for overload on the tablecloth - here it is in my kitchen...


tablecloth in situ


After those finds, I was on my way home, when I decided spontaneously to pop into another op shop I haven't been to for ages, where I rarely have any real luck, just on the off chance that there might be something......


Boy, was there something!


The ENTIRE SET of Childcraft Library books, the lot for five dollars.


Thrifted set - Childcraft Library


For those of you who are not familiar, the Childcraft Library series is like a set of encyclopedias for kids, from the seventies, with the best illustrations in the world. We had a set of these when I was a kid, and I spent hours and hours poring over them, learning stuff (I was, and still am, and unabashed bookworm), hassling dad to help me make stuff out of the "Make and Do" book, and getting my first dose of Greek Mythology (another of my loves) from the "Stories and Fables" edition.


It's on par with finding a whole set of Golden Hands, or Enid Blyton books, or something similar.....


Here's a couple of pages so you can see what I mean...


From Stories and Fables....


Stories and Fables - Childcraft Library


Stories and Fables - Childcraft Library


Stories and Fables - Childcraft Library


From Make and Do:


Things to Make and Do - Childcraft Library


Love it.


Before I go, I just wanted to say a thankyou to everyone who commented on the pincushion tutorial.....having never done a tute before, it was good to know that other people found it useful!


I hope you're all having tea and cupcakes, wherever you are....! xxx

Saturday, July 7, 2007

Pincushion Tutorial!

*Editors Note: For those of you who have visited this page before - I had to rephotograph the tutorial due to some technical difficulties! So now the photos are a little different, but the tutorial stays the same! Thanks! *

I've seen a few pincushion tutorials around on the net, and most of the time I skim over them, because pincushions seem so, well, easy.... This one is no exception, but I thought I'd throw my hat in the ring anyway....


After rearranging my studio, and ending up with two workspaces, one for cutting, and one for sewing, the need for an extra pincushion became very clear, and after seeing these two examples by Heather, and Manda, I thought it was time to give it a go. (I probably would have bought one of Manda's, but by the time I saw the post she had sold out! Gah!)


So here goes:


This pincushion is a simple patchworked number, four squares on each side, with a button detail in the centre. Easy Peasy.


Finished Pincushion


Finished Pincushion


First of all, you need to choose some fabric. I ended up with a plain white linen, plus two contrasting cotton fabrics, so the cushion would be different on each side.


Pincushion Tutorial


Then, make yourself a little 2 1/2 inch square template out of cardboard or such. I don't have a rotary cutter or quilt ruler or any fancy tools, so I trace directly around the template onto the fabric, and then leave a seam allowance around that when cutting. This leaves the traced line as your sewing line, and gets rid of the need for perfect 1/4 inch seams and such. It's a inperfect art, but there you go.


So trace around your templates, remembering to leave a seam allowance....You'll need two squares each of the contrasting fabric, and four of the plain.


Pincushion Tutorial


Pincushion Tutorial


Cut out your squares.


Pincushion Tutorial


Stitch the squares together, following the traced stitching line, to make two 5 inch square blocks. Press the seams down flat. Don't stress too much if your squares don't meet perfectly in the middle, your button will cover that at the end anyway...


Pincushion Tutorial


Place the two block right sides together, and stitch all the way around the outside, leaving a small hole for turning it round the right way and stuffing. Trim the seams and clip the corners.


Pincushion Tutorial


Turn that sucker inside out (well, the right way round, actually), poke the corners out, and then stuff it quite full with stuffing.


Pincushion Tutorial


You want your pincushion to be quite plump, so overstuff it as much as you can without straining the seams....


Pincushion Tutorial


Sew up the hole you left for the stuffing with tiny little stitches, or some crazy invisible stitching method that you know (and I don't!)
Now it should look like this:


Pincushion Tutorial


Now for the fun part - finishing!


Choose some buttons that you like to go with the fabrics you've chosen.


Pincushion Tutorial


I used waxed linen thread for the button part, because it's strong, and you'll be pulling on the thread quite hard, so make sure you use something reasonably strong.


linen thread and beeswax


To start off the stitching for the buttons, thread your needle with a double length of thread and tie a knot at one end. Poke your needle through the centre of your pincushion, making sure it comes out in the centre on the other side.


Pincushion Tutorial


Pull the thread through, but leave a small loop on the front side.


Pincushion Tutorial


Make a small stitch on the reverse side, bringing the needle out in the centre once again. Don't pull the thread through just yet.


Pincushion Tutorial


Before you pull the thread through, slip your needle through the loop you made, which will stop the knot from slipping through the fabric into the middle of the cushion.


Pincushion Tutorial


Pull the thread tight, which should tighten up the loop you left hanging, and bring the whole centre of the cushion in, giving your cushion that cute shape you want.


DSC_0038.JPG


Now sew your buttons on, stitching right through the centre of your cushion, pulling the thread tight, making the buttons press down in the centre. Use similar sized buttons so you can match up the holes reasonably well on both sides.
When the buttons are secure, bring your thread up to the top, but not through to the other side of the button. Instead, ease the needle out behind the button. This takes a bit of managing, but you should get it without too many dramas.


Pincushion Tutorial


Your thread should now lie behind the top button like this:


Pincushion Tutorial


To make a secure knot, use the thread to make a loop behind the button, like so:


Pincushion Tutorial


Slip the needle through the loop, and tighten well, behind the button. Do a couple of these knots, and then trim off your thread so it hides behind the button.


And voila! You're done!


Finished Pincushion


For those of you with loads of sewing experience, this is a peice of cake, and nothing you won't have seen before. But if you're a beginner, give it a go, especially the button tying technique; this is how I sew on all my buttons, and I haven't had one fall off yet!


Well, there you have it, my first tutorial. If you'd like to see any of the photos in more detail, just click on one and you'll be taken to my Flickr page, where you can see them bigger if you like.


I hope you liked it!

xxxx

Friday, June 29, 2007

Little Things....

Today started with a bit of this:


Frankie Magazine


Which came with these cute art cards for free!


free cards with Frankie Magazine


And a little Sneak Peek at what comes next.....


Sneek Peek


I've run out of stuffing...so the bigger viewing will have to wait....


And now I have to give the Landlord a tour of the house, including the spot on the carpet where a log rolled out of the fire......uuurrrrgggghhh..... wish me luck! xxx