I've seen a few pincushion tutorials around on the net, and most of the time I skim over them, because pincushions seem so, well, easy.... This one is no exception, but I thought I'd throw my hat in the ring anyway....
After rearranging my studio, and ending up with two workspaces, one for cutting, and one for sewing, the need for an extra pincushion became very clear, and after seeing these two examples by Heather, and Manda, I thought it was time to give it a go. (I probably would have bought one of Manda's, but by the time I saw the post she had sold out! Gah!)
So here goes:
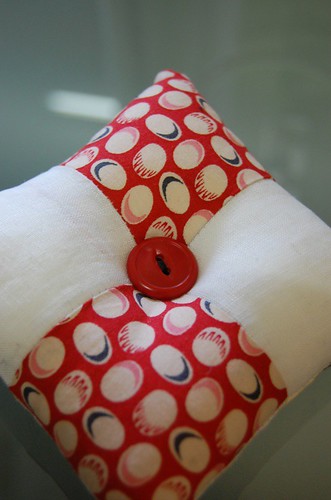
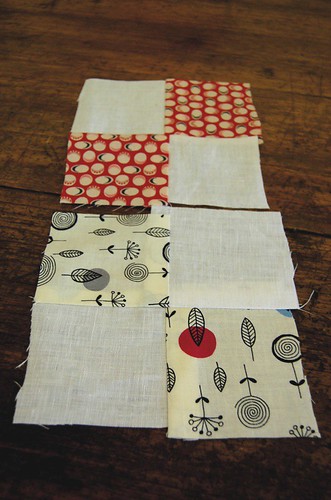
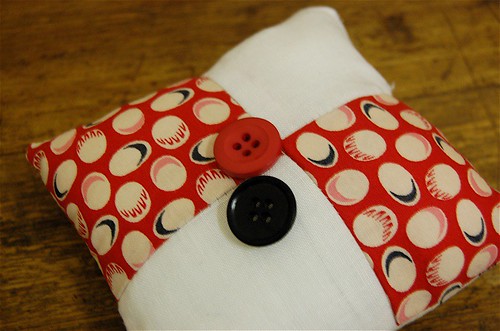
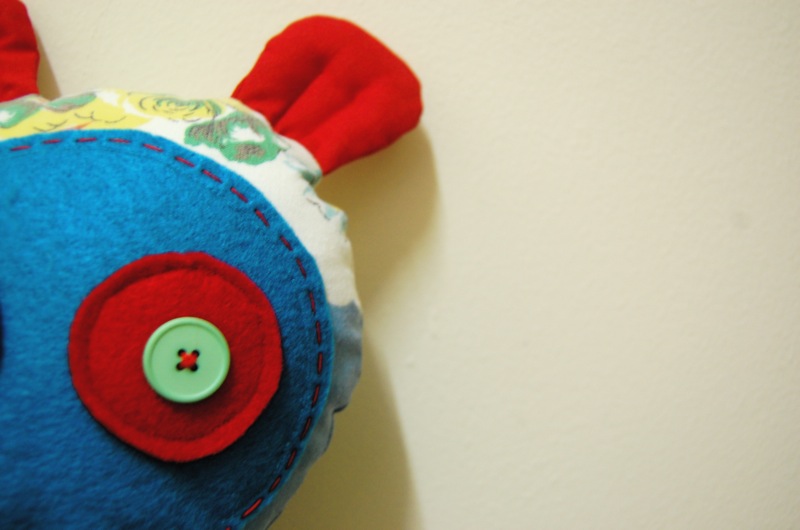
This pincushion is a simple patchworked number, four squares on each side, with a button detail in the centre. Easy Peasy.
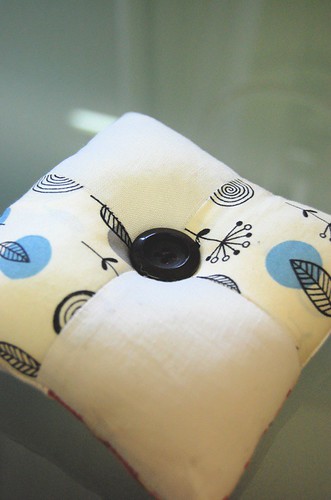
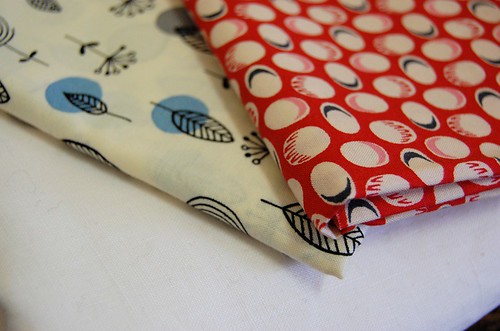
First of all, you need to choose some fabric. I ended up with a plain white linen, plus two contrasting cotton fabrics, so the cushion would be different on each side.
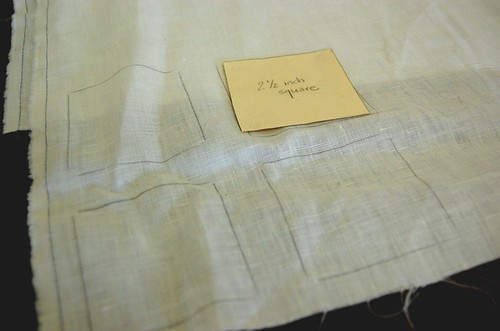
Then, make yourself a little 2 1/2 inch square template out of cardboard or such. I don't have a rotary cutter or quilt ruler or any fancy tools, so I trace directly around the template onto the fabric, and then leave a seam allowance around that when cutting. This leaves the traced line as your sewing line, and gets rid of the need for perfect 1/4 inch seams and such. It's a inperfect art, but there you go.
So trace around your templates, remembering to leave a seam allowance....You'll need two squares each of the contrasting fabric, and four of the plain.

Cut out your squares.

Stitch the squares together, following the traced stitching line, to make two 5 inch square blocks. Press the seams down flat. Don't stress too much if your squares don't meet perfectly in the middle, your button will cover that at the end anyway...
Place the two block right sides together, and stitch all the way around the outside, leaving a small hole for turning it round the right way and stuffing. Trim the seams and clip the corners.
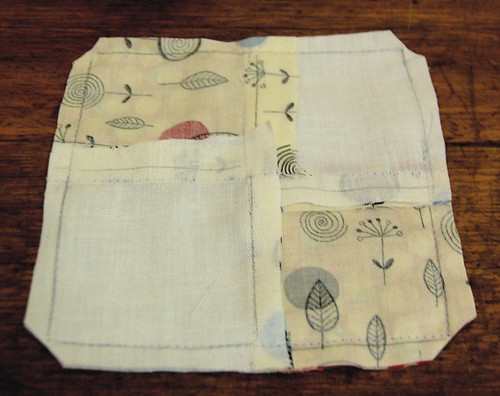
Turn that sucker inside out (well, the right way round, actually), poke the corners out, and then stuff it quite full with stuffing.
You want your pincushion to be quite plump, so overstuff it as much as you can without straining the seams....

Sew up the hole you left for the stuffing with tiny little stitches, or some crazy invisible stitching method that you know (and I don't!)
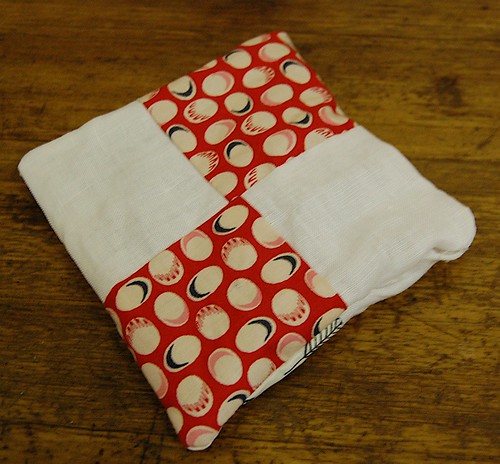
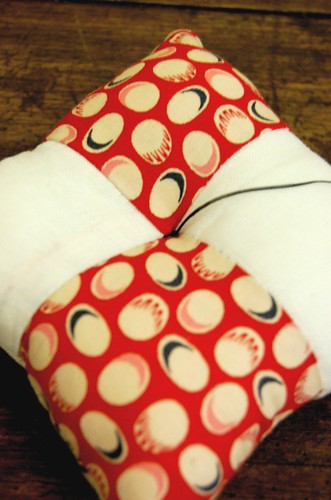
Now it should look like this:
Now for the fun part - finishing!
Choose some buttons that you like to go with the fabrics you've chosen.
I used waxed linen thread for the button part, because it's strong, and you'll be pulling on the thread quite hard, so make sure you use something reasonably strong.

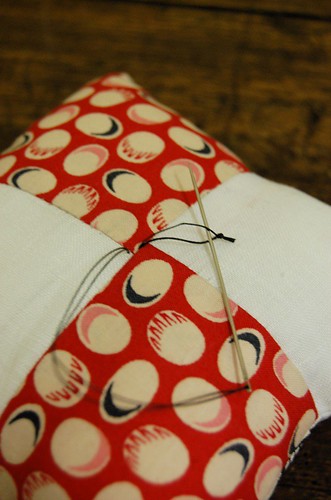
To start off the stitching for the buttons, thread your needle with a double length of thread and tie a knot at one end. Poke your needle through the centre of your pincushion, making sure it comes out in the centre on the other side.
Pull the thread through, but leave a small loop on the front side.
Make a small stitch on the reverse side, bringing the needle out in the centre once again. Don't pull the thread through just yet.
Before you pull the thread through, slip your needle through the loop you made, which will stop the knot from slipping through the fabric into the middle of the cushion.
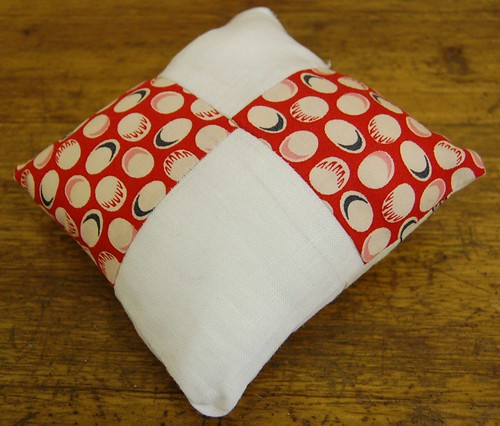
Pull the thread tight, which should tighten up the loop you left hanging, and bring the whole centre of the cushion in, giving your cushion that cute shape you want.
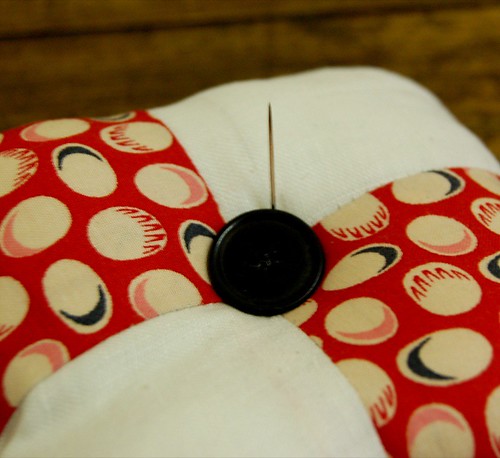
Now sew your buttons on, stitching right through the centre of your cushion, pulling the thread tight, making the buttons press down in the centre. Use similar sized buttons so you can match up the holes reasonably well on both sides.
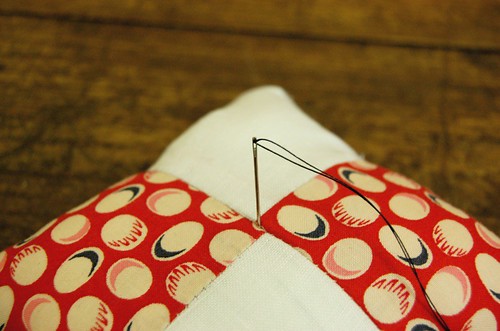
When the buttons are secure, bring your thread up to the top, but not through to the other side of the button. Instead, ease the needle out behind the button. This takes a bit of managing, but you should get it without too many dramas.
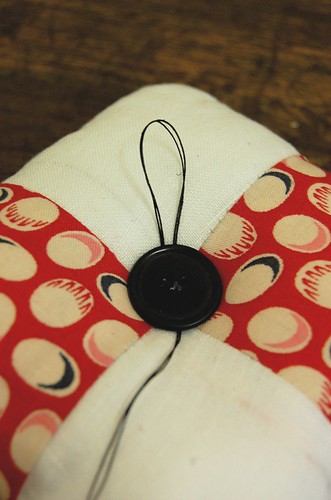
Your thread should now lie behind the top button like this:

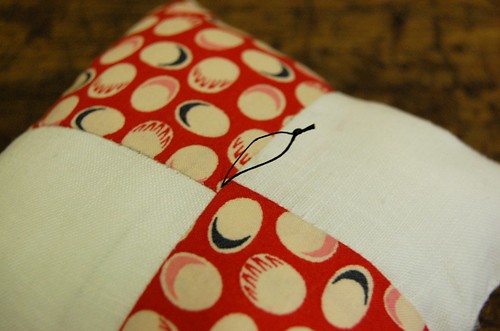
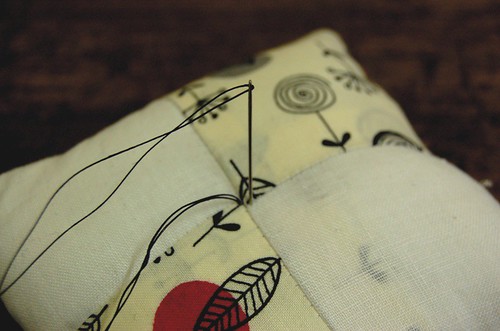
To make a secure knot, use the thread to make a loop behind the button, like so:
Slip the needle through the loop, and tighten well, behind the button. Do a couple of these knots, and then trim off your thread so it hides behind the button.
And voila! You're done!
For those of you with loads of sewing experience, this is a peice of cake, and nothing you won't have seen before. But if you're a beginner, give it a go, especially the button tying technique; this is how I sew on all my buttons, and I haven't had one fall off yet!
Well, there you have it, my first tutorial. If you'd like to see any of the photos in more detail, just click on one and you'll be taken to my Flickr page, where you can see them bigger if you like.
I hope you liked it!
xxxx


26 comments:
okay, your button knot totally out-rocks mine.
::sigh:: i've made TONS of pincushions in my day. do you know how many i've made for myself?
zero. zilch. zippo.
These are just gorgeous. I feel some christmas presents coming on!
I feel a feature on whipup.net coming on.
Clever girl.
Thanks so so so much for that! I know how to sew but I didn't know the little secret tricks...like using waxed linen thread...and pulling through the loop...and how to finish off the button etc.
I'm gonna go make one now!
Great blog by the way.
Hugs x
damm...
i was lucky to snap up the last pin cushion from manda, but now i want to make one of yours - can a girl have too many cushions??
love the blog - came over from love, honor disobey - pleased to have found another cool and honest blog.
back soon
tracy x
pin cushion practicality aside...
this was the MOST lovely and thoughtful tutorial I have ever seen!
(lesson learned)
thank you!!
great tute and i LOVE the fabrics you chose - simply fabulous. you somehow disappeared from my bloglines and i just realized i hadn't seen any posts from you in awhile - so glad i made my way back to see all the lovely stuff you've been up to lately.
I’ve never seen such a detailed and clear tutorial. I think you had much fun making it. The photos are great. I’m definately going to make a pincushion. You blog is wonderful! What camera-lense(?) do you use? I’m looking for one on my camera to make detailed photos with.
Thank you for sharing such a sweet project! BTW, your photos are just fine..I can see everything perfectly. I love the knot trick too...that is so much better than what I've been doing. Blessings...Susan
I'm so glad you posted this tutorial! I agree pincushions are simple to make but when you HAVE to make two for gifts .......... your mind goes blank and you need help! So, thank you for the help!
And, I love the tip on leaving a tail to loop through on the other side! Ingenius!
What a great tutorial!!! I love the pincushion and the button tip for sewing it on. Thanks!!!
Fantastic tutorial! The button tip is fantastic too and I shall definitely be using it in the future.
GREAT tutorial!!! I've been going crazy the past week looking for pin cushion patterns and was thrilled when this was today's topic on the SewMamaSew blog. I love your tutorial and will be using it tomorrow to make some up!! Thank you!
well it was worth getting up today just for that button knot. THANX!
what a great idea. I'm so inspired!
Thank you for the great tutorial. I finished a pincushion with your great tutorial. I have posted it on my blog if you would like to see it.
That was a great tutorial and fun. I can't wait to try one of these. The pictures were very good. I like all your ideas.
You know, there simply aren't enough hours in the day! I already have so many plans for what to make for folk as Crimbo presents and now you've gone & given me another!!!
The pincushion is so cute and your tutorial makes it look so easy! I'm going to give it a try...
Thanks for sharing!
I made two of these pincushions tonight! They are easy and fun. Can't wait to give one to my friend at work tomorrow. Thanks for the great directions and pictures!
I LOVE new ideas that you can make quickly so that you can see results. This pincuchion is one of those. SO cute, so quick, and so creative. Thanks.
Wonderful!!!! I <3 tutorials complete with LOTS of pics!!! Thanks!
I just made one of these and added some extra detail - a loop of ribbon out of the top so I can hang it off my sewing machine and ironing table, and a row of top stitching all around the edges in contrasting colors to give it a little more flair. I spent ten minutes trying to get a decent picture of it but to na avail...sigh. Thanks for the great tutorial and wonderful ideas!
Your little pin cushions are adorable. I love the colours you used in your example. I will finally be sending that poor pitiful apple/strawberry what ever it is to the trash.
I love your blog and visit often.
Great post and what a lovely design, I will make a couple for garden cushions, they will look great in the garden, the colours and design are ideal.
I used your tutorial to make the pin cushion you see on my blog. Thanks.
Hey there! I used your tutorial for my pincushion today. I'll have it posted this week! Thanks for the help!
Post a Comment